Make a DIY side table
To make a unique and stylish side table, you just need a GTA 26 cordless pruner and a few materials. Why not give this rewarding DIY idea a go?
14.07.2023

Creative living ideas for DIY enthusiasts
This easy-to-make side table makes a useful and attractive feature in your home. This is a project that is not just fun to build, but which also requires very few resources. You can use our instructions as a creative guide, but the final design is in your hands – after all, what could be more unique than DIY furniture?
DIY side table: materials
You will need the following materials and tools for this DIY wood side table. When it comes to wood, it’s really a matter of personal taste, so you should simply use what appeals to you. Remember that wood will need long-term maintenance, for example, regular oil or varnish application.
- STIHL GTA 26 garden pruner
- A wooden plank
- 1 m long metal rods (1 x 8 mm, 2 x 6 mm)
- Pencil and ruler
- Construction adhesive
- 120-grit and 180-grit sandpaper
- File
- Hacksaw
- Wood drill bits (8 mm and 6 mm)
- Cordless screwdriver or drill
- Personal protective equipment

Committed to your safety: protective equipment
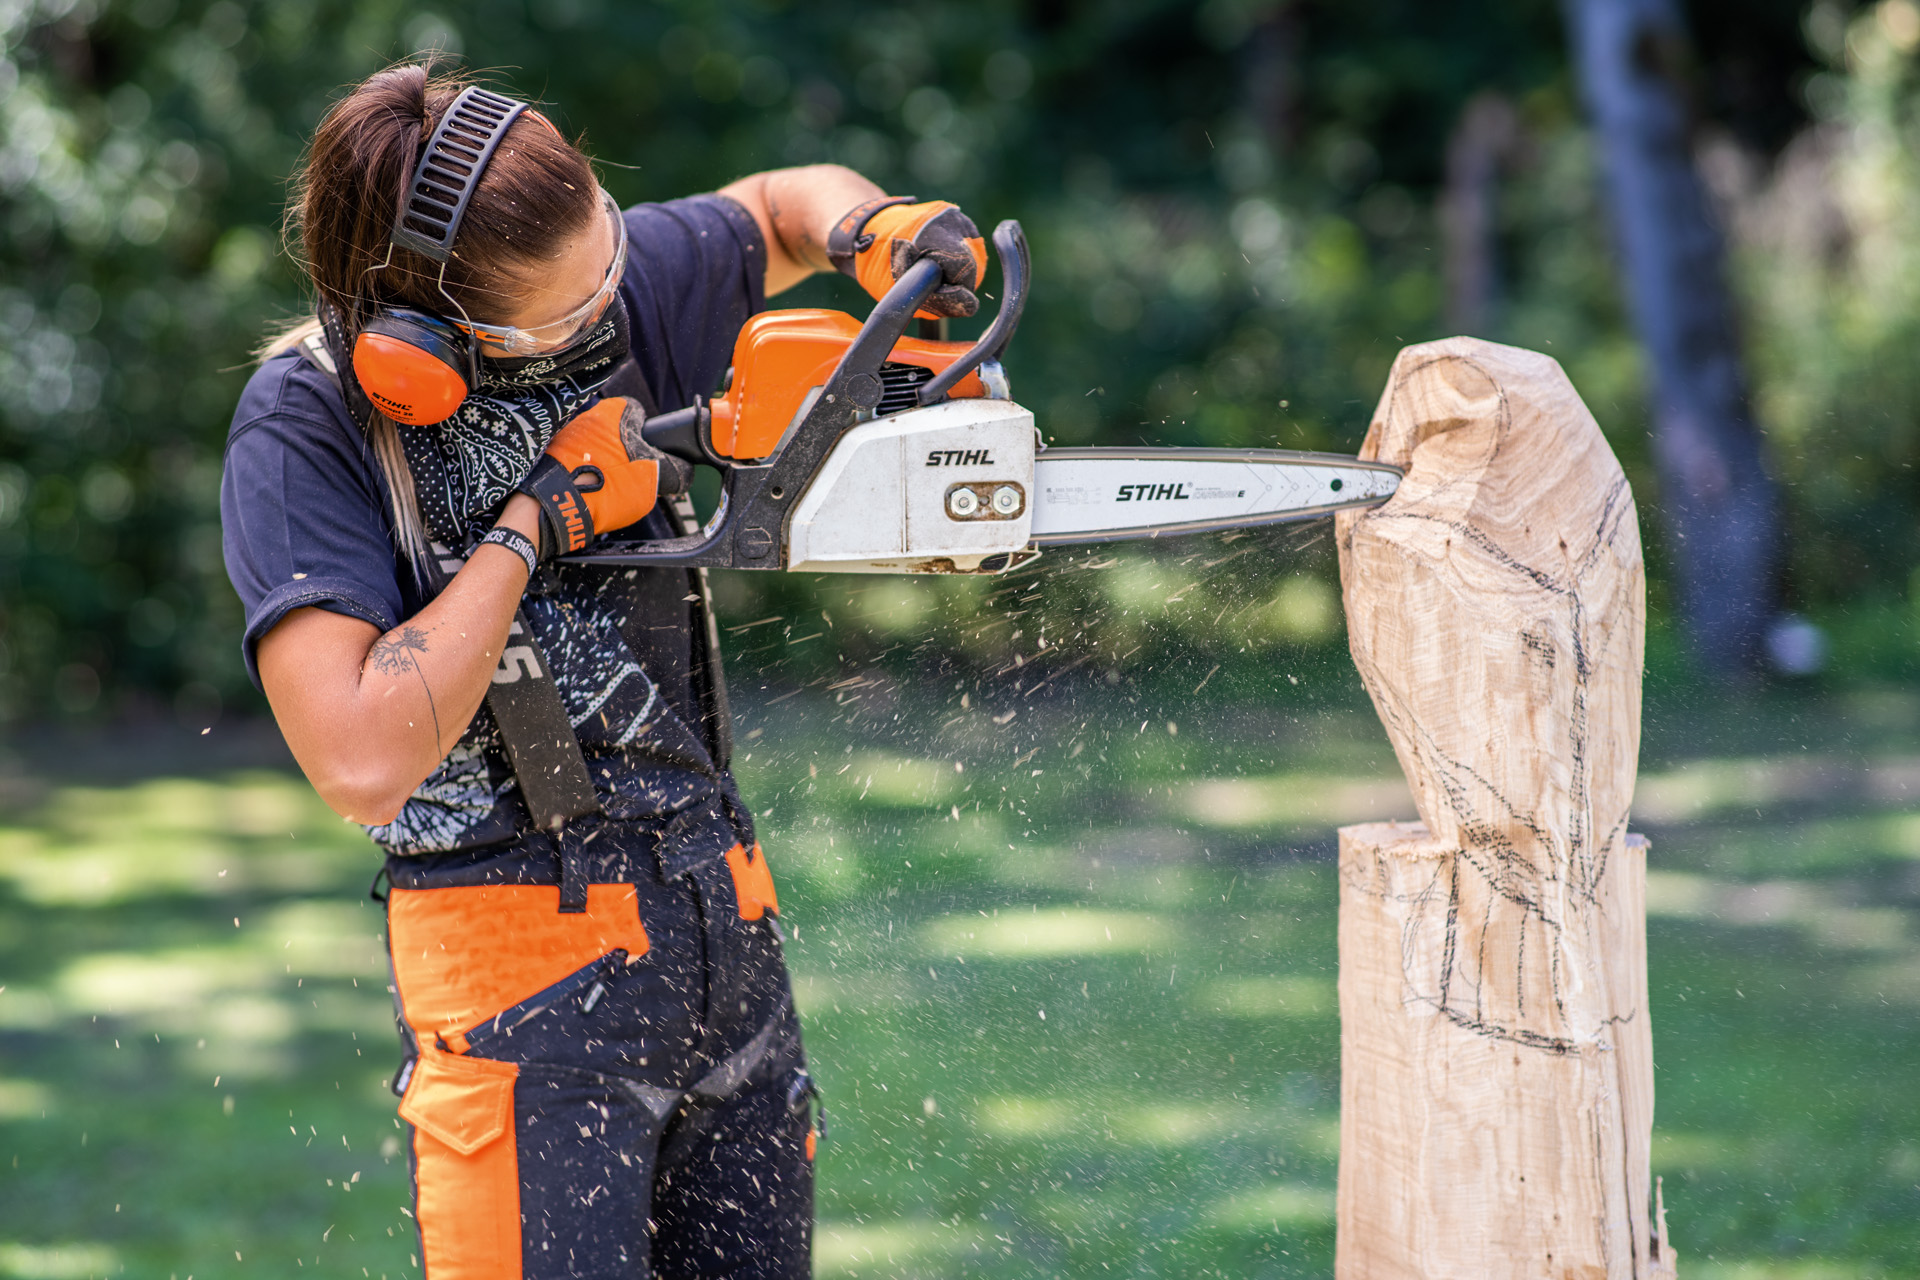
Using powerful tools in your DIY is fun and means you can extend your abilities, which is great as long as you are relying on effective and safe protective clothing while using them. Always wear personal protective equipment when working with your chainsaw. This includes a helmet, cut protection trousers, safety boots, and more. The operating manual for your product contains more details on this. Fully familiarise yourself with the tool before you use your chainsaw for the first time, and check it is in flawless condition before each use. On request, your STIHL dealer will be happy to prepare your tool for its first use, and will also advise you on models and sizes of protective clothing that you can try at your leisure. Please remember that personal protective equipment is no substitute for safe working techniques.
DIY side table: step-by-step instructions
With materials, tools and safety considerations taken care of, you can start the DIY project. Please ensure that you always wear safety glasses when cutting metal and drilling. This simple but effective project can be completed in an hour or two.

DIY side table step 1: plan your design
Your side table will be created to your own design. As you plan what shape you want the table top to be, bear in mind that straight cuts are easier to make; it’s also sensible to consider the order and shape of cuts you’ll need. Once you’ve decided on your side table design, draw the shape onto the underside of the plank with a pencil.

DIY side table step 2: saw out the shape
Use the STIHL GTA 26 garden pruner to methodically make the required cuts. Guide the pruner with both hands; saw from the underside so that the cut edge on the top surface is smooth and clean. Remove the excess pieces of wood as you work. The edges on the underside are generally a little ragged after cutting, so you will clean these up in the next step.

DIY side table step 3: smooth edges
Use a file and sandpaper to refine the cut edges. It’s best to start with a metal file for a finer finish, then use sandpaper until the edges are safe and smooth.

DIY side table step 4: make the table legs
Now it’s time to bend your metal rods to become table legs. Hold a rod with both hands, and carefully but forcefully push the ends together. The 6 mm metal rod should be bent into a smaller radius than the thicker 8 mm rod. You can use a hacksaw to shorten the legs if you prefer a lower table.

DIY side table step 5: drill holes
Use a wood bit to drill two holes for each leg in the underside of the table top. Make sure the holes match the diameter of the metal rods you are using. Drill at a slight angle so that the legs will splay beyond the table top for better stability.

DIY side table step 6: glue the legs
For the last step, glue the metal legs into the holes using construction adhesive. Check the drying time for the adhesive before you stand the table up; this may be up to 48 hours.
When the glue is dry, you can finish the wood. If you use clear varnish, we recommend that you apply one coat and then sand the surface with 180-grit sandpaper before adding a second coat of varnish to your DIY table. Alternatively, you can apply hardwax oil for a more natural finish that still protects the wood.
Using your DIY side table
When it’s finished, your side table needs a home! It makes a lovely living room plant stand, or a handy piece of furniture to keep by the sofa for books and magazines. The stylish minimalist design makes it a versatile and striking addition to a room.
Admiring your handiwork may give you the taste for more DIY. It’s easy to adjust the size and design of the wooden side table, so why not make a whole set?

Summary: make a DIY side table
- This DIY side table doesn’t require many materials. A wooden plank and some metal rods are the main items you will need.
- The STIHL GTA 26 garden pruner means it’s easy to make this unique side table.
- Cut a wooden plank into a shape you like.
- Glue metal legs into drilled holes.
- Always wear personal protective equipment while you work, as directed in your operating instructions.
