How to make a DIY log lantern
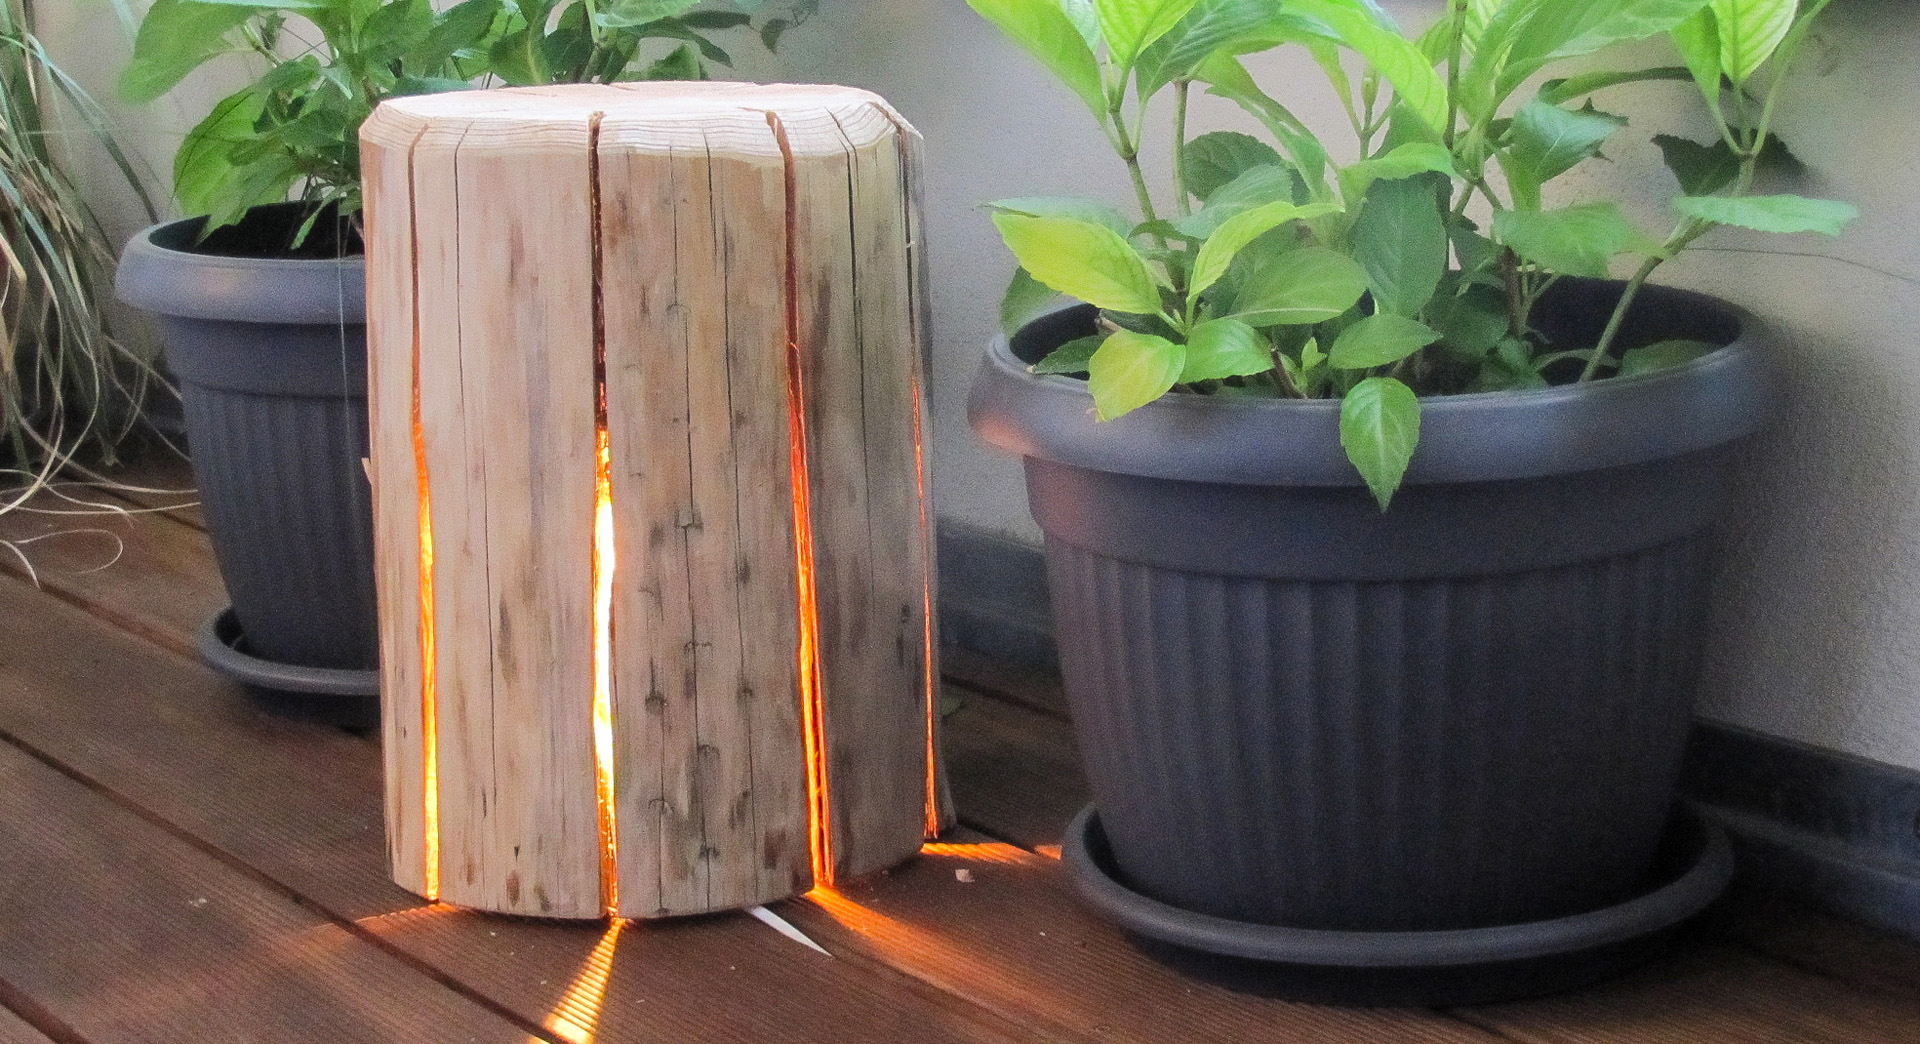
A carved wooden log lantern makes an atmospheric garden accessory. Why not use our DIY instructions and create your own unique design?
13.07.2023

DIY log lantern: preparation
You don’t need many materials to create your own beautiful DIY log lamp out of wood: just a suitable log and a chainsaw with the right attachment for carving a simple pattern.

DIY chainsaw carving
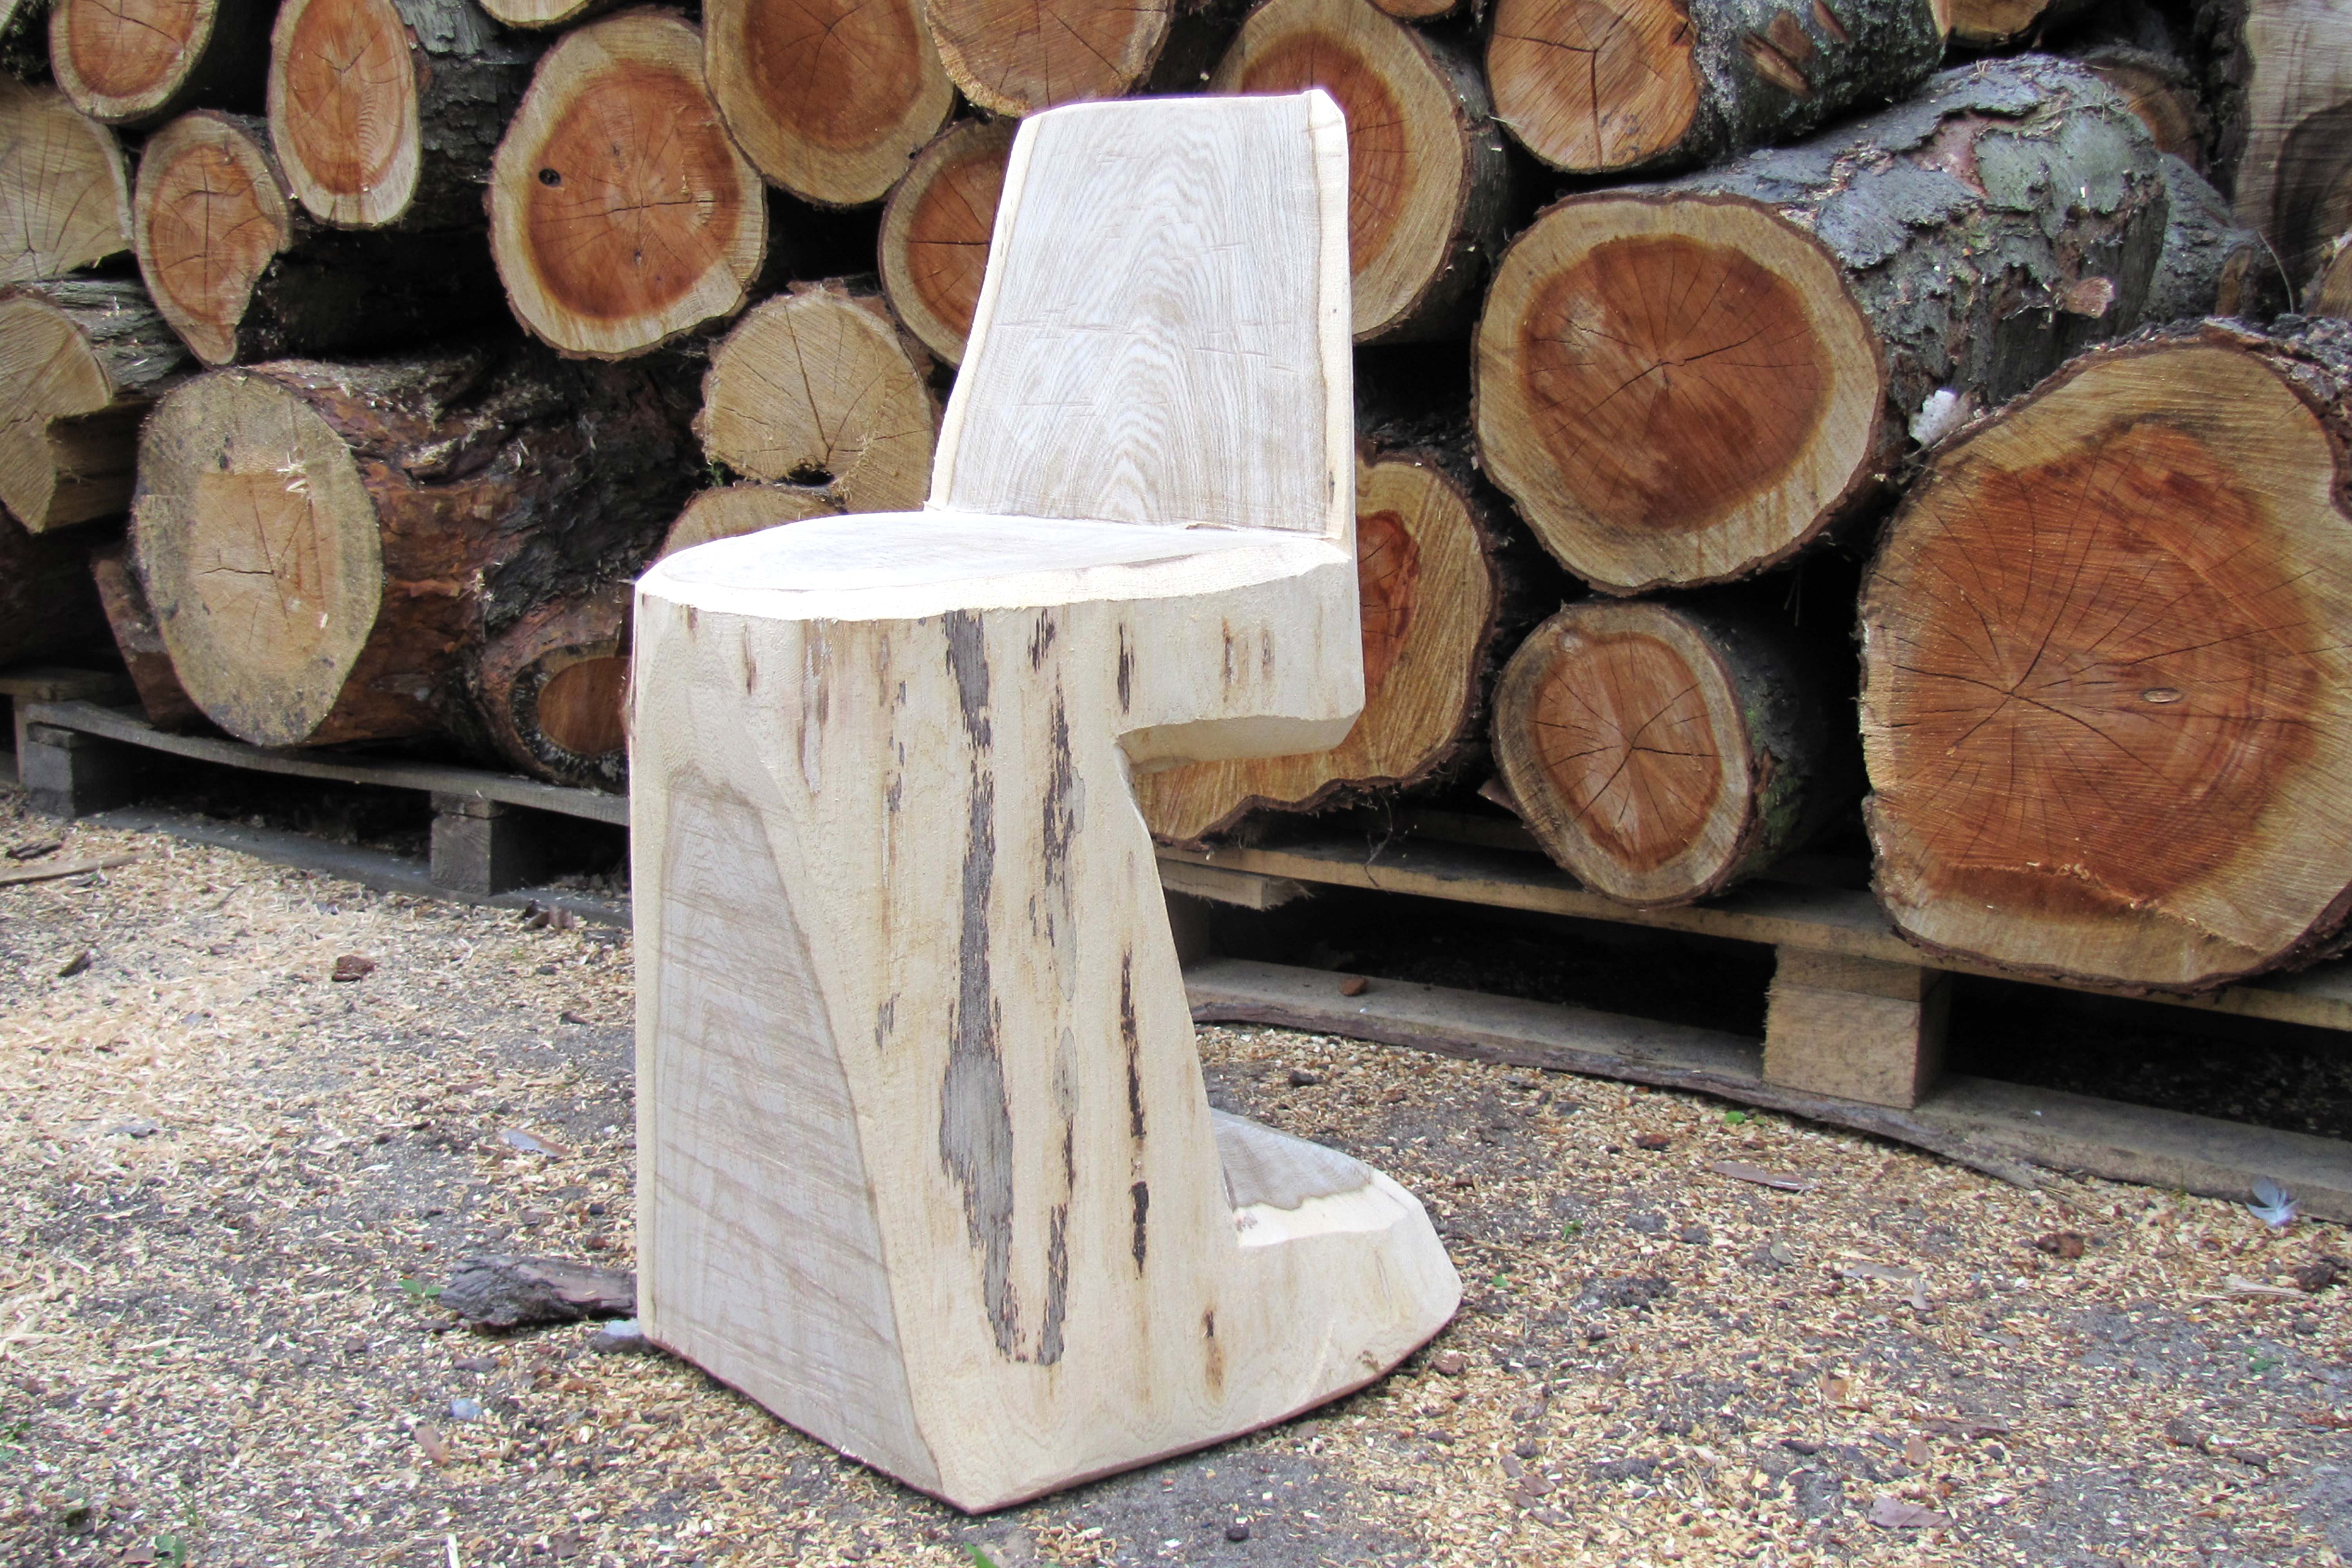
Chainsaw carving has become a popular hobby for amateurs and chainsaw enthusiasts. All you need to get started is a specialist carving chainsaw – or a carving attachment for your chainsaw – and a bit of creative flair. As the chainsaw experts, we’ve put together more information about the basics of DIY carving here.
Precision made easy
A special carving bar from STIHL allow you to make delicate lines and easily craft a log into a masterpiece. Chainsaw carving is a lot of fun and also a way of creating unique wooden items that make great gifts too.
Full DIY power

Carving chainsaws for your DIY log lantern
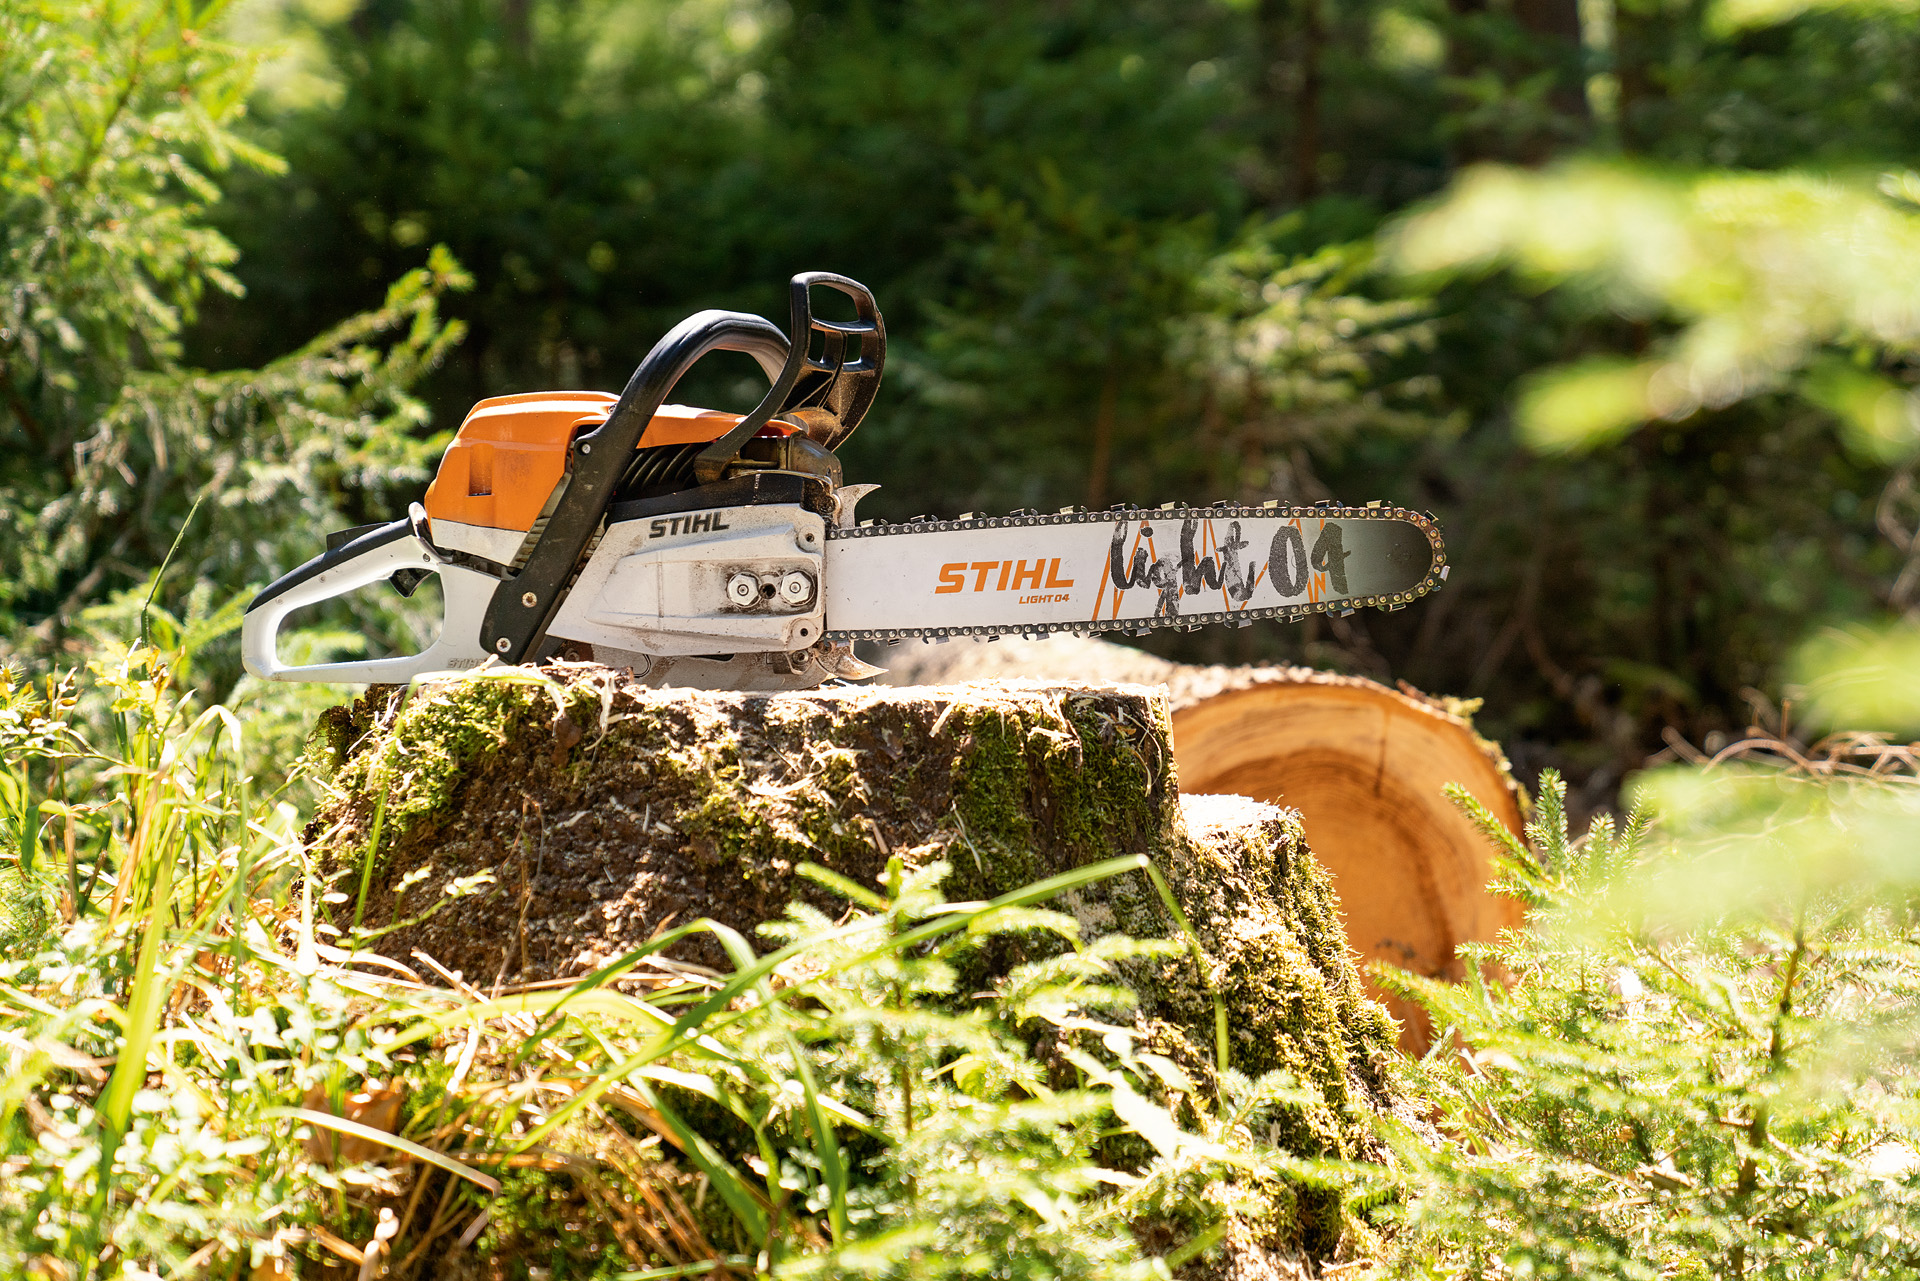
If you want to do intricate work with wood, a STIHL carving saw is the best tool for the job. The specialist carving attachments feature low vibration and kickback, and the small bar nose means that you can make delicate lines and fine cuts with ease.
DIY log lantern: what wood should I use?
You can use almost any type of wood for your lantern, as long as it is properly prepared. The log you work with should be dry, not freshly cut: the drier, the better, as it means less risk of your lantern cracking. For your first attempts, we suggest you choose a coniferous wood with a low resin content because it’s softer and will be easier to carve. As your carving skills improve, you can switch to poplar, oak, Douglas fir or some fruit tree woods.
DIY log lantern: wood care
Wood is a natural, living product and both humidity and weather have a permanent impact on its condition. Though you can and should take steps to preserve your work, you cannot completely prevent wood from changing over time – that’s part of its charm. Cracking and discolouration of your log lantern is normal, although various oils, waxes and varnishes are available that can help to restrict or prevent it.
Protective equipment: designed to keep you safe
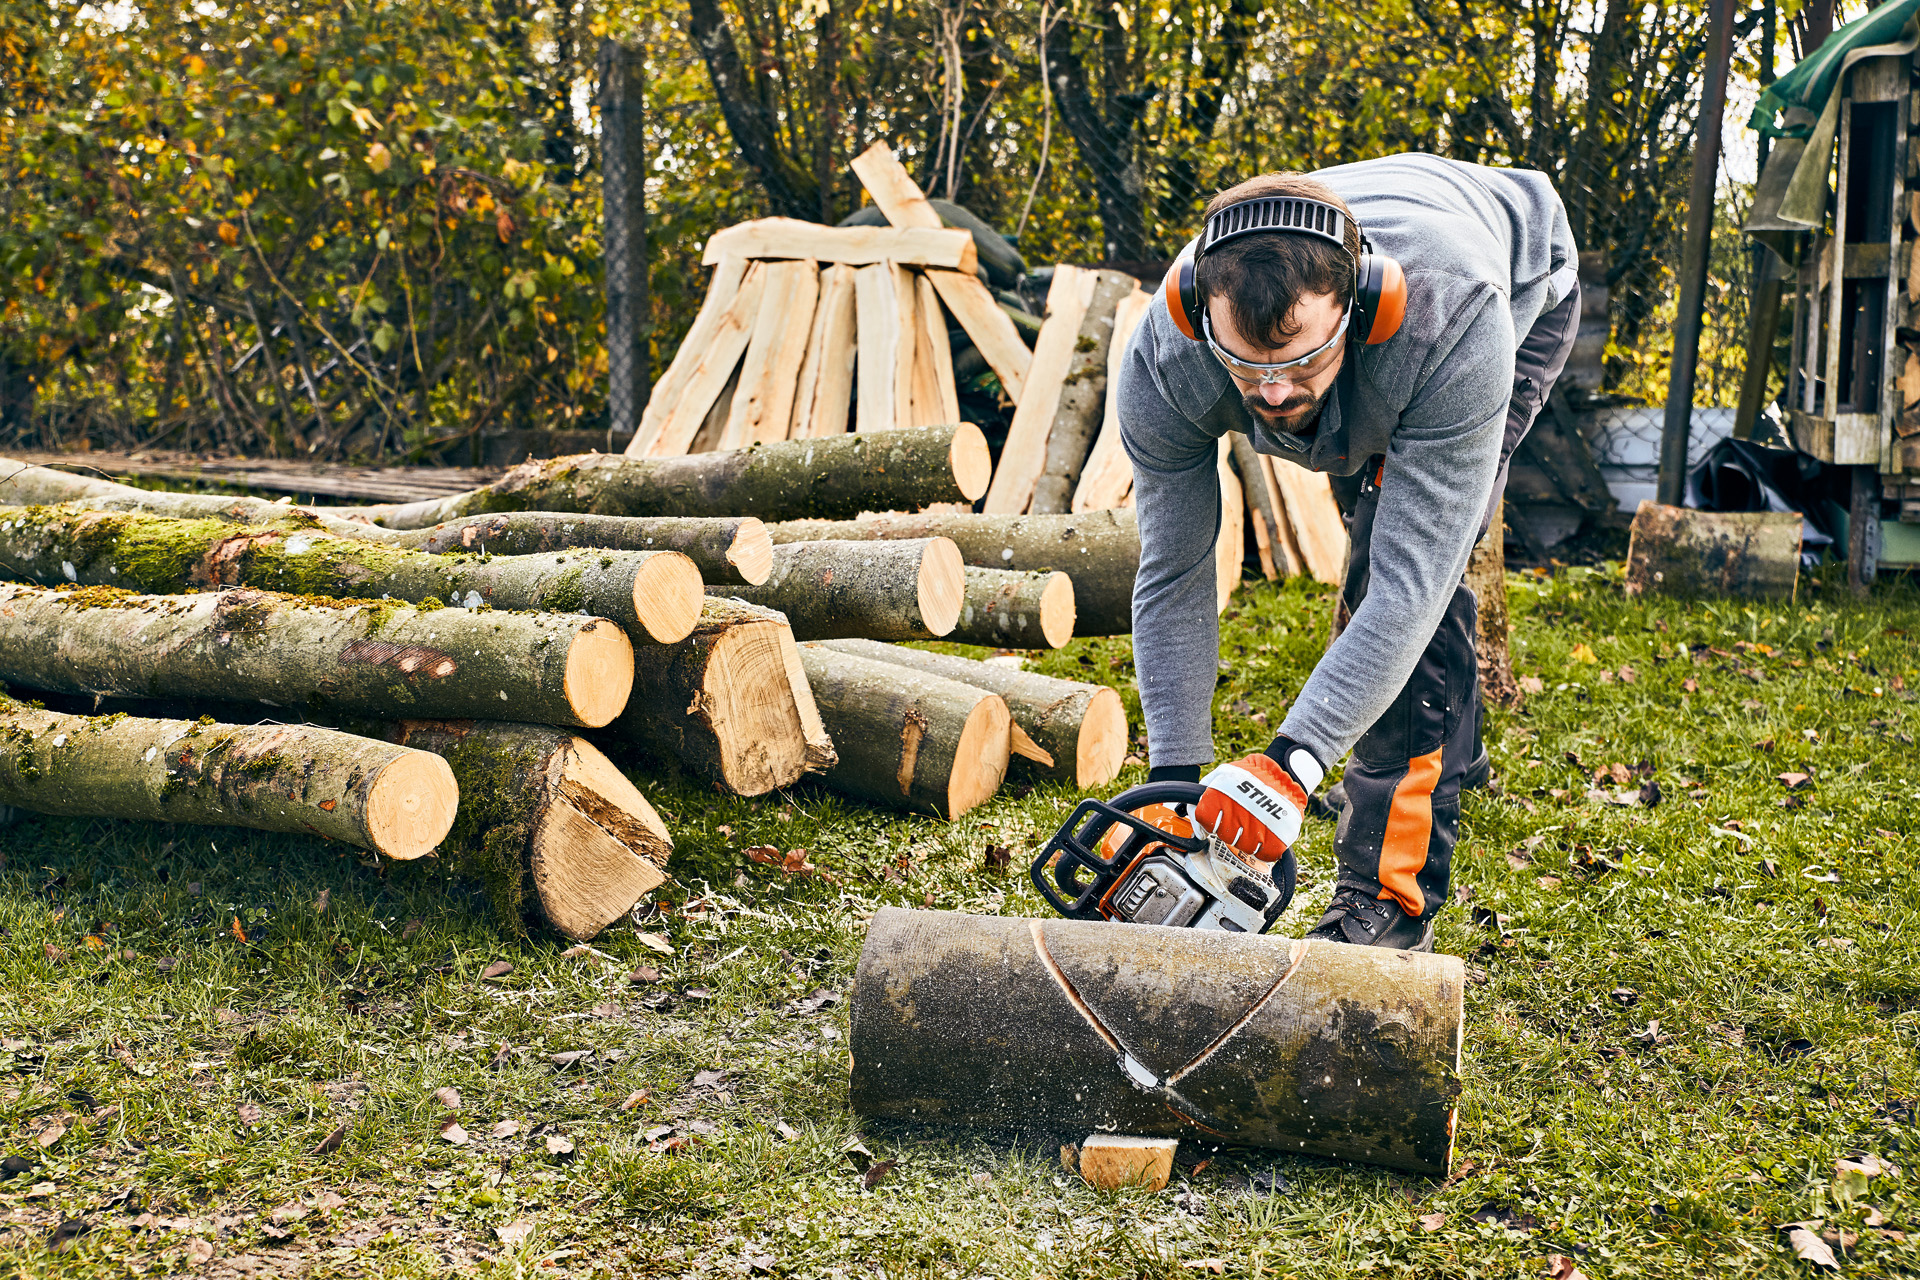
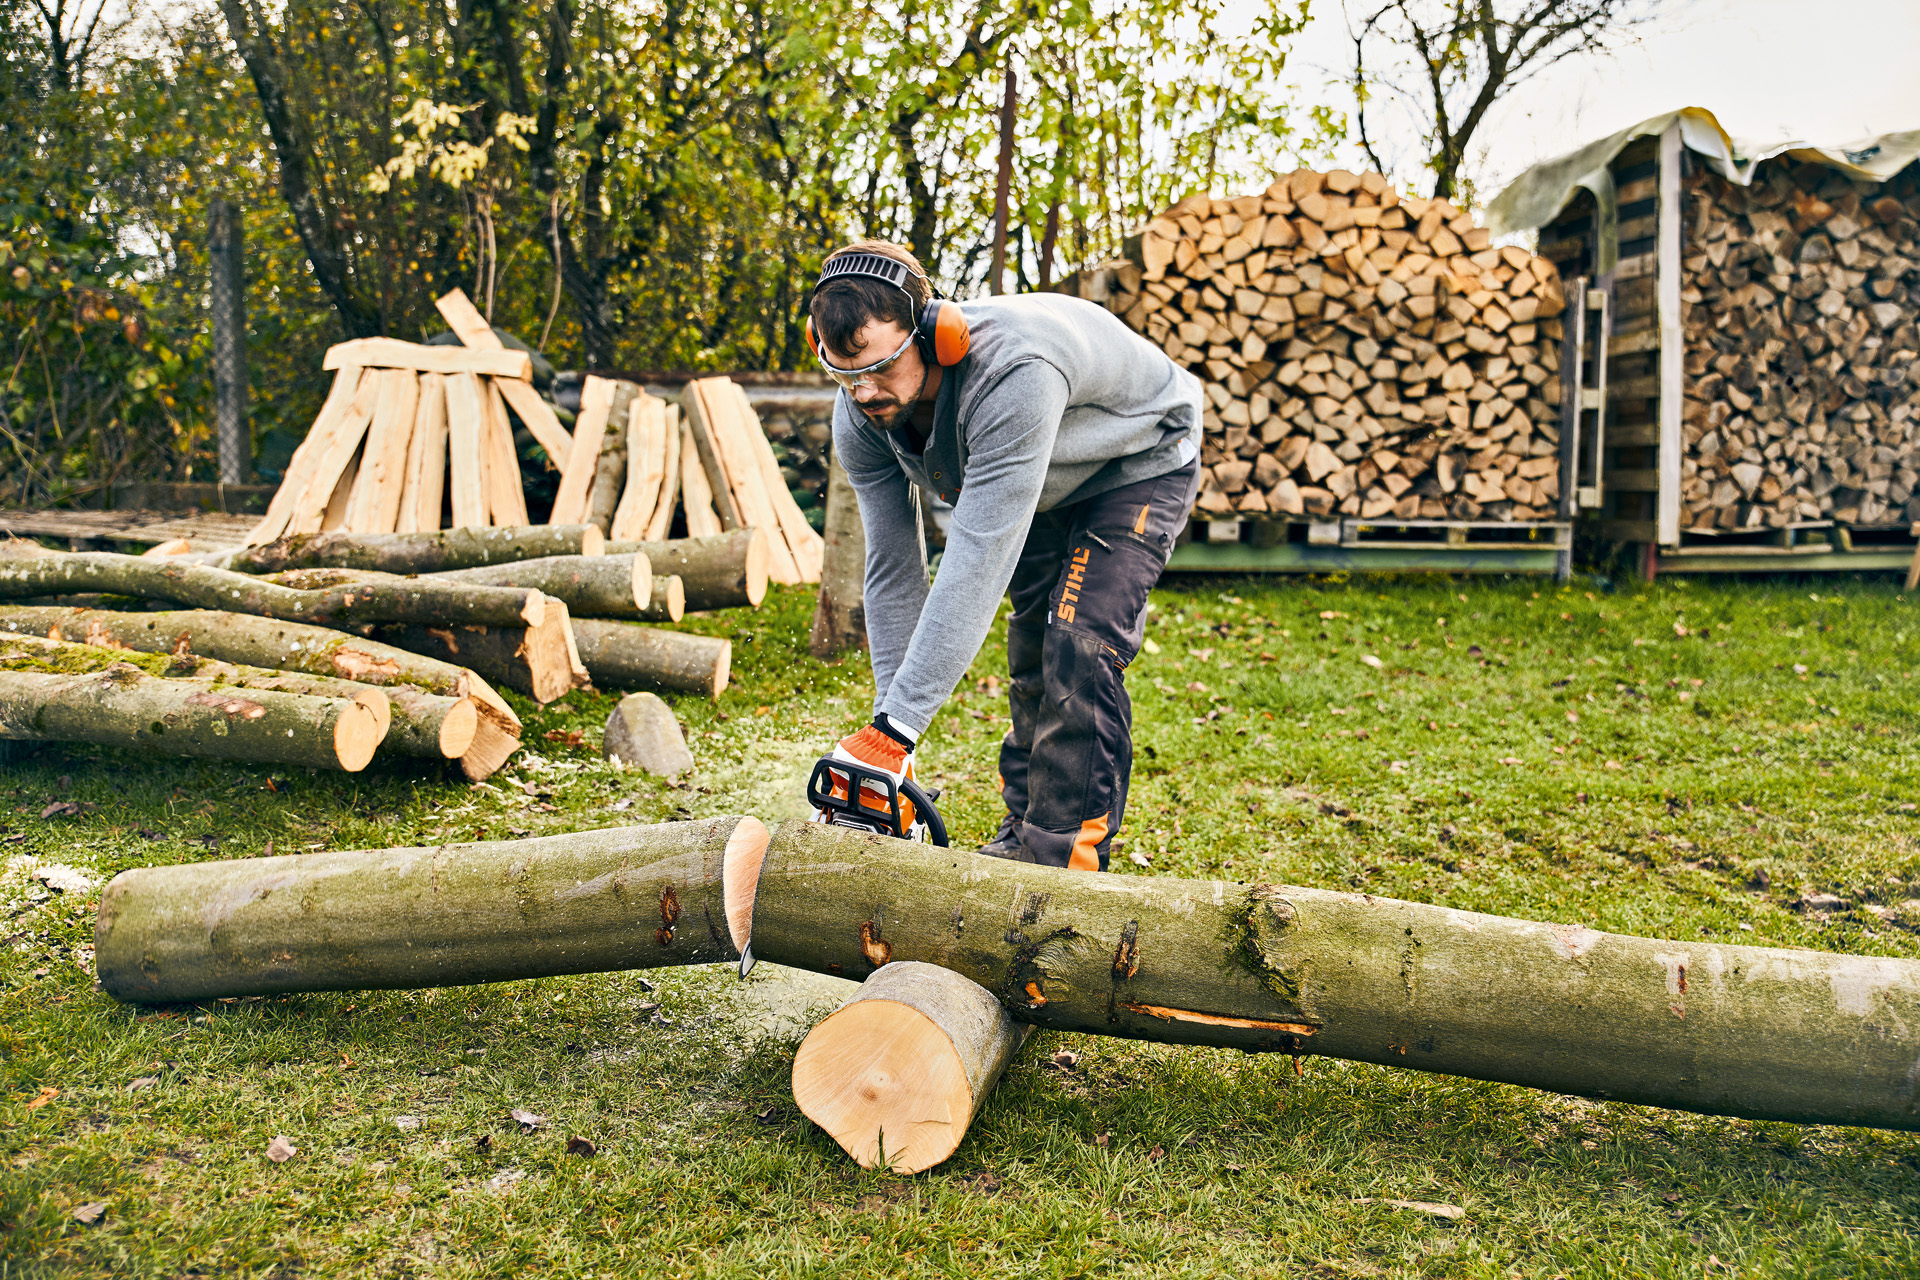
You should always wear personal protective equipment when working with your chainsaw. This includes a cut protection trousers, safety boots, safety glasses, a face shield, gloves and a helmet if there is a risk of falling objects. You will also need to wear ear protection when using petrol chainsaws, some of our larger cordless chainsaws or an electric chainsaw. The operating manual for your product contains more details. Fully familiarise yourself with the tool before you use your chainsaw for the first time, and check it's in flawless condition before each use. On request, your STIHL dealer will be happy to prepare your tool for its first use and will also advise you on models and sizes of protective clothing that you can try. Please remember that personal protective equipment is no substitute for safe working techniques.
You need the following materials and tools to create a DIY log lantern
- Log, 30 to 40 cm in diameter, 35 to 40 cm long
- Sawhorse
- Tensioning belt
- STIHL hatchet
- STIHL chainsaw
- Scraper and drawknife for debarking
- Chalk for marking
- Light source to go inside your lantern, e.g. fairy lights
- Personal protective equipment

DIY log lantern: step-by-step instructions
Before you get started, you should fix the log to a sawhorse using a tensioning belt. Mark out your initial cuts with a piece of chalk so you know exactly where to start. Hollow out the log so you can add a light source to make it into a lamp. Then you can carve a pattern so that light can peek out from your lantern atmospherically.
DIY log lantern overview
- Create the basic structure by hollowing out the log.
- Cut light slits into your lantern in your chosen pattern.
- Remove bark from the log and treat your finished DIY wooden lantern with a suitable oil.
To begin, you need to remove the core of the log:
- Cut into the end face of the log with your chainsaw, making parallel cuts around 30 cm deep on the left and right, as if cutting two sides of a square.
- Turn the log 90° and repeat the cuts on the remaining sides, so you have cut a square into the centre.
- Cut the log down to approximately 30 cm long; you should now be able to knock the core out with the back of a hatchet.
- The leftover part of the log can be used as a base for the DIY lantern.
- Caution: There is a risk of kickback when you cut into the log to hollow it out. It is vital that you follow the safety guidelines in the operating instructions.

- Once you’ve removed the core, you can start the precision work of hollowing out the log for your lantern.
- Using the chainsaw bar at a shallow angle, remove wood from inside the log so that the wall is the same thickness all the way round.

- The pattern of slits you carve on the outside of the log will allow the light to shine through from inside. It’s up to you to decide on a pattern – let your creativity run wild!
- Draw your pattern onto the log with chalk first. Carve your pattern into the log, following the markings.
- A special carving attachment will enable you to carve the pattern more intricately and easily.
- For the best effect, the slits of your DIY log lantern should not be too thin or too thick.
- Cut a small notch into the back to help you insert a light source later.

- Remove the bark from the log carefully, keeping the surface as free of damage as possible. A hatchet will work well on small logs, or a scraper and drawknife will do the job.
- Do not remove the bark until you have cut the light slits.
- Smooth the debarked surface of your lantern with a file and sandpaper.

- If the wood is dry and the lantern will be used indoors, it does not need to be treated.
- Treat semi-dry wood with an interior wood product, such as beeswax. This will make your lantern more durable.
- Depending on the type of wood, you can apply an oil to make your piece last longer.
- To illuminate your lantern, we recommend using an LED light source suitable for both indoor and outdoor use.

Tips for outdoor use
To use your lantern outdoors, apply a wood sealer suitable for semi-dry carved sculptures. Use an LED light source suitable for both indoor and outdoor use.
Summary: make a DIY log lantern
- You can use a chainsaw to carve fine cuts in wood.
- Soft, coniferous wood is ideal for beginners.
- Advanced carvers can use poplar, oak, Douglas fir or some types of fruit tree.
- Always wear personal protective equipment as specified in the operating instructions for your tool.
- Begin your DIY lantern by hollowing out a log.
- Carve delicate slits in your chosen design on the outside of your lantern.
- Remove the bark with a hatchet and sand your lantern down.
- Treat the wood with beeswax or a suitable interior varnish.
