How to make a DIY stool with a log seat
This striking DIY stool uses a log to create a handy seat, comfy footrest or useful side table. We show you how to make your own.
18.07.2024

DIY stool with a log seat: striking and functional
Looking for a new wood project? How about a unique and useful stool that brings the charm of natural wood into your home in a modern and stylish way?
There is huge appeal in making your own furniture, as it means you can design to suit your individual style and needs. This DIY log stool offers plenty of scope for design choices too: you can decide the size, wood type, and colour of the piece. Whatever you go for, in just a few hours you will be the proud new owner of an elegant piece of furniture. All you need is a log, a couple of MDF boards for the legs, and a high-powered chainsaw.
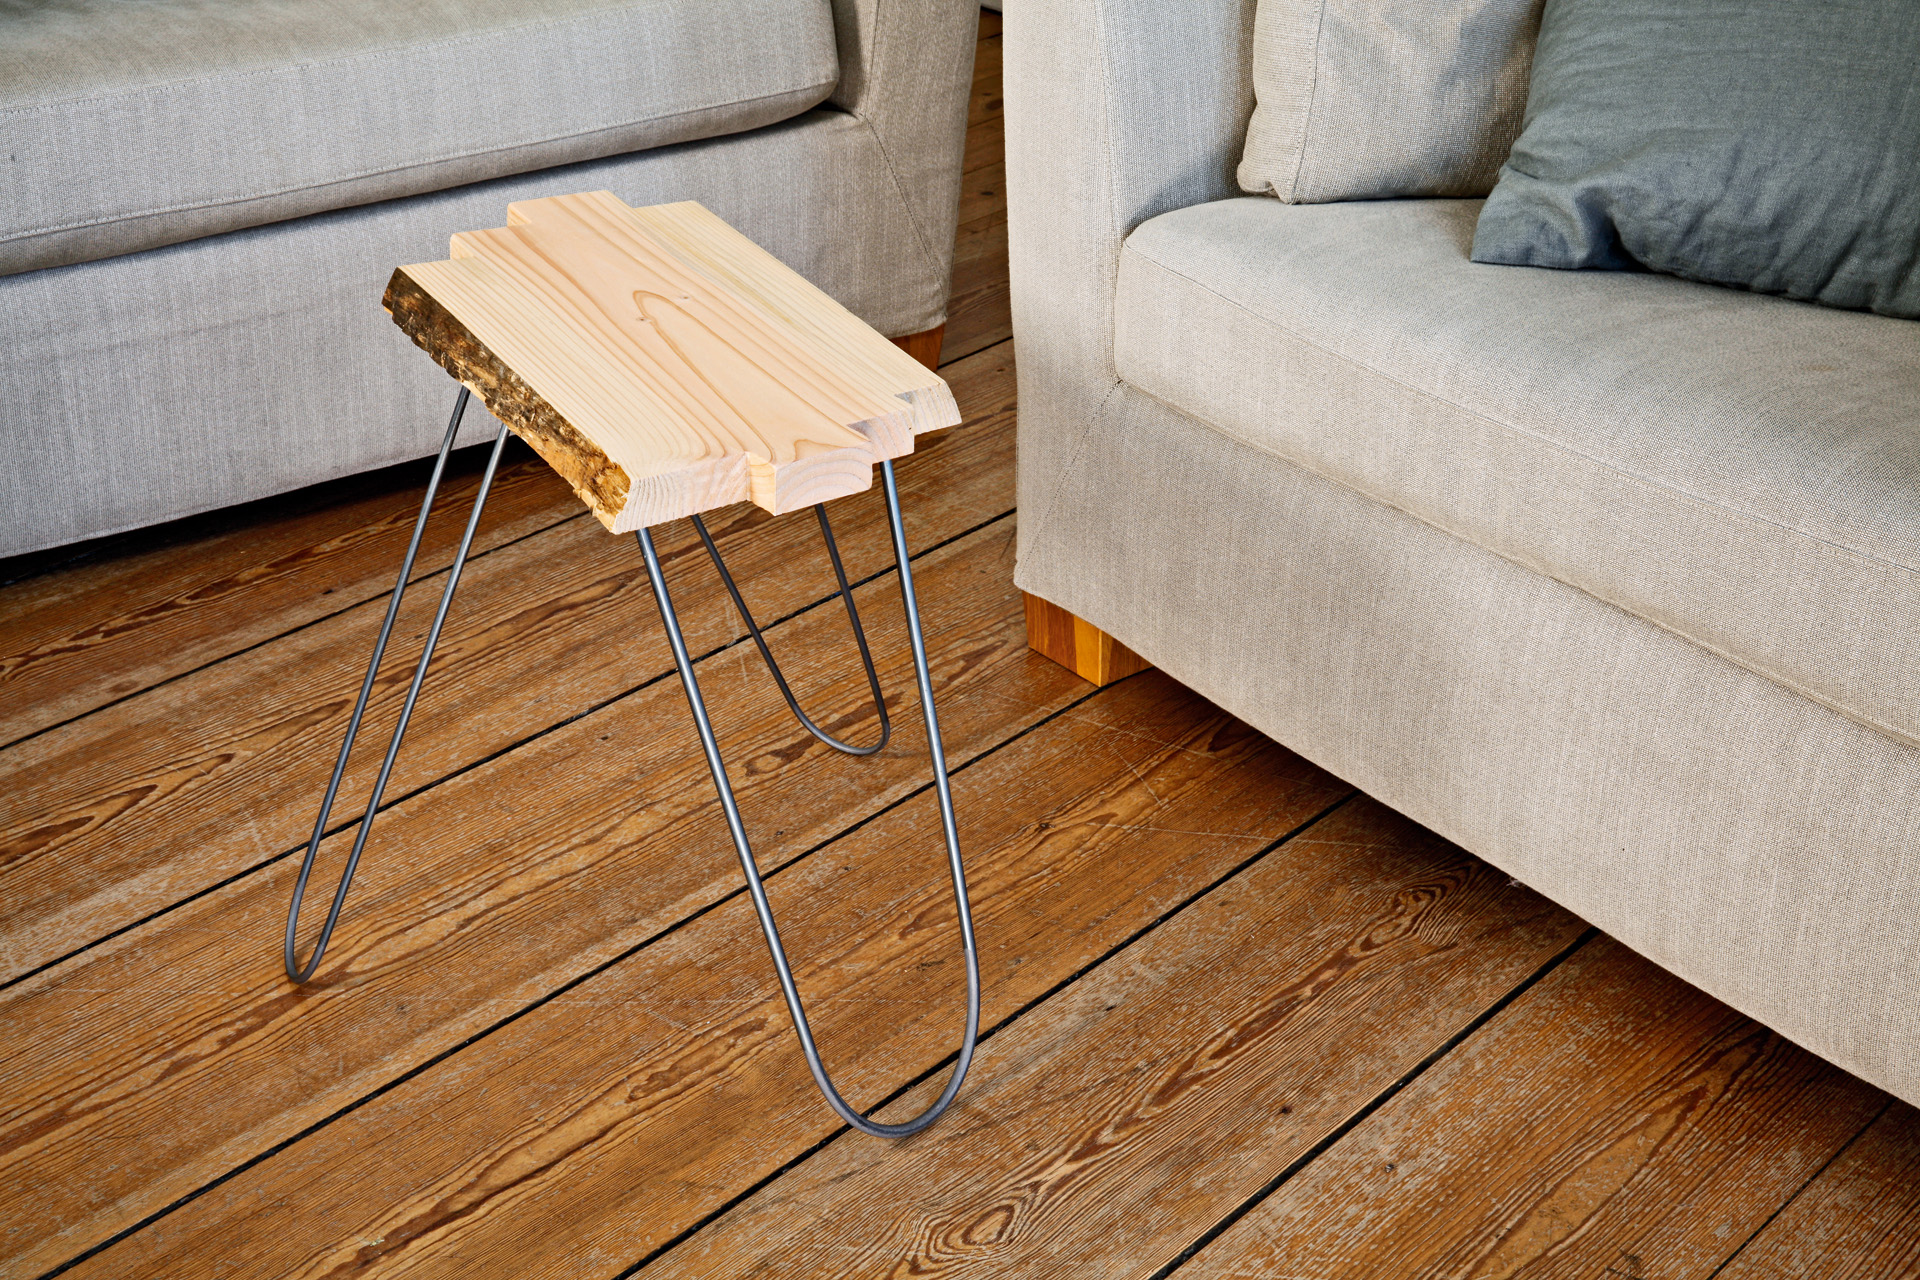
We’ve called it a stool, but this piece is multi-functional, working as a seat, a footrest, a small side table, or even a plant stand. You can make it in whatever size you like, so there’s bound to be at least one spot in your home that will benefit from this handmade wooden piece. It makes a great gift too!
DIY stool with log seat: selecting the wood

Wood has its own unique character, and for this project you can choose whatever wood appeals to you most. Hardwood is a safe choice for a rustic stool, though softwoods such as pine are a sustainable and low-cost alternative. Bear in mind though, that softwoods have a tendency to release resin.
Choose a log that has already been debarked and, ideally, de-splintered. It should have a maximum residual moisture of 15-20% to prevent further cracking after it has become part of your DIY log stool. You can use a wood moisture meter to measure the moisture content of the log.
Committed to your safety: protective equipment
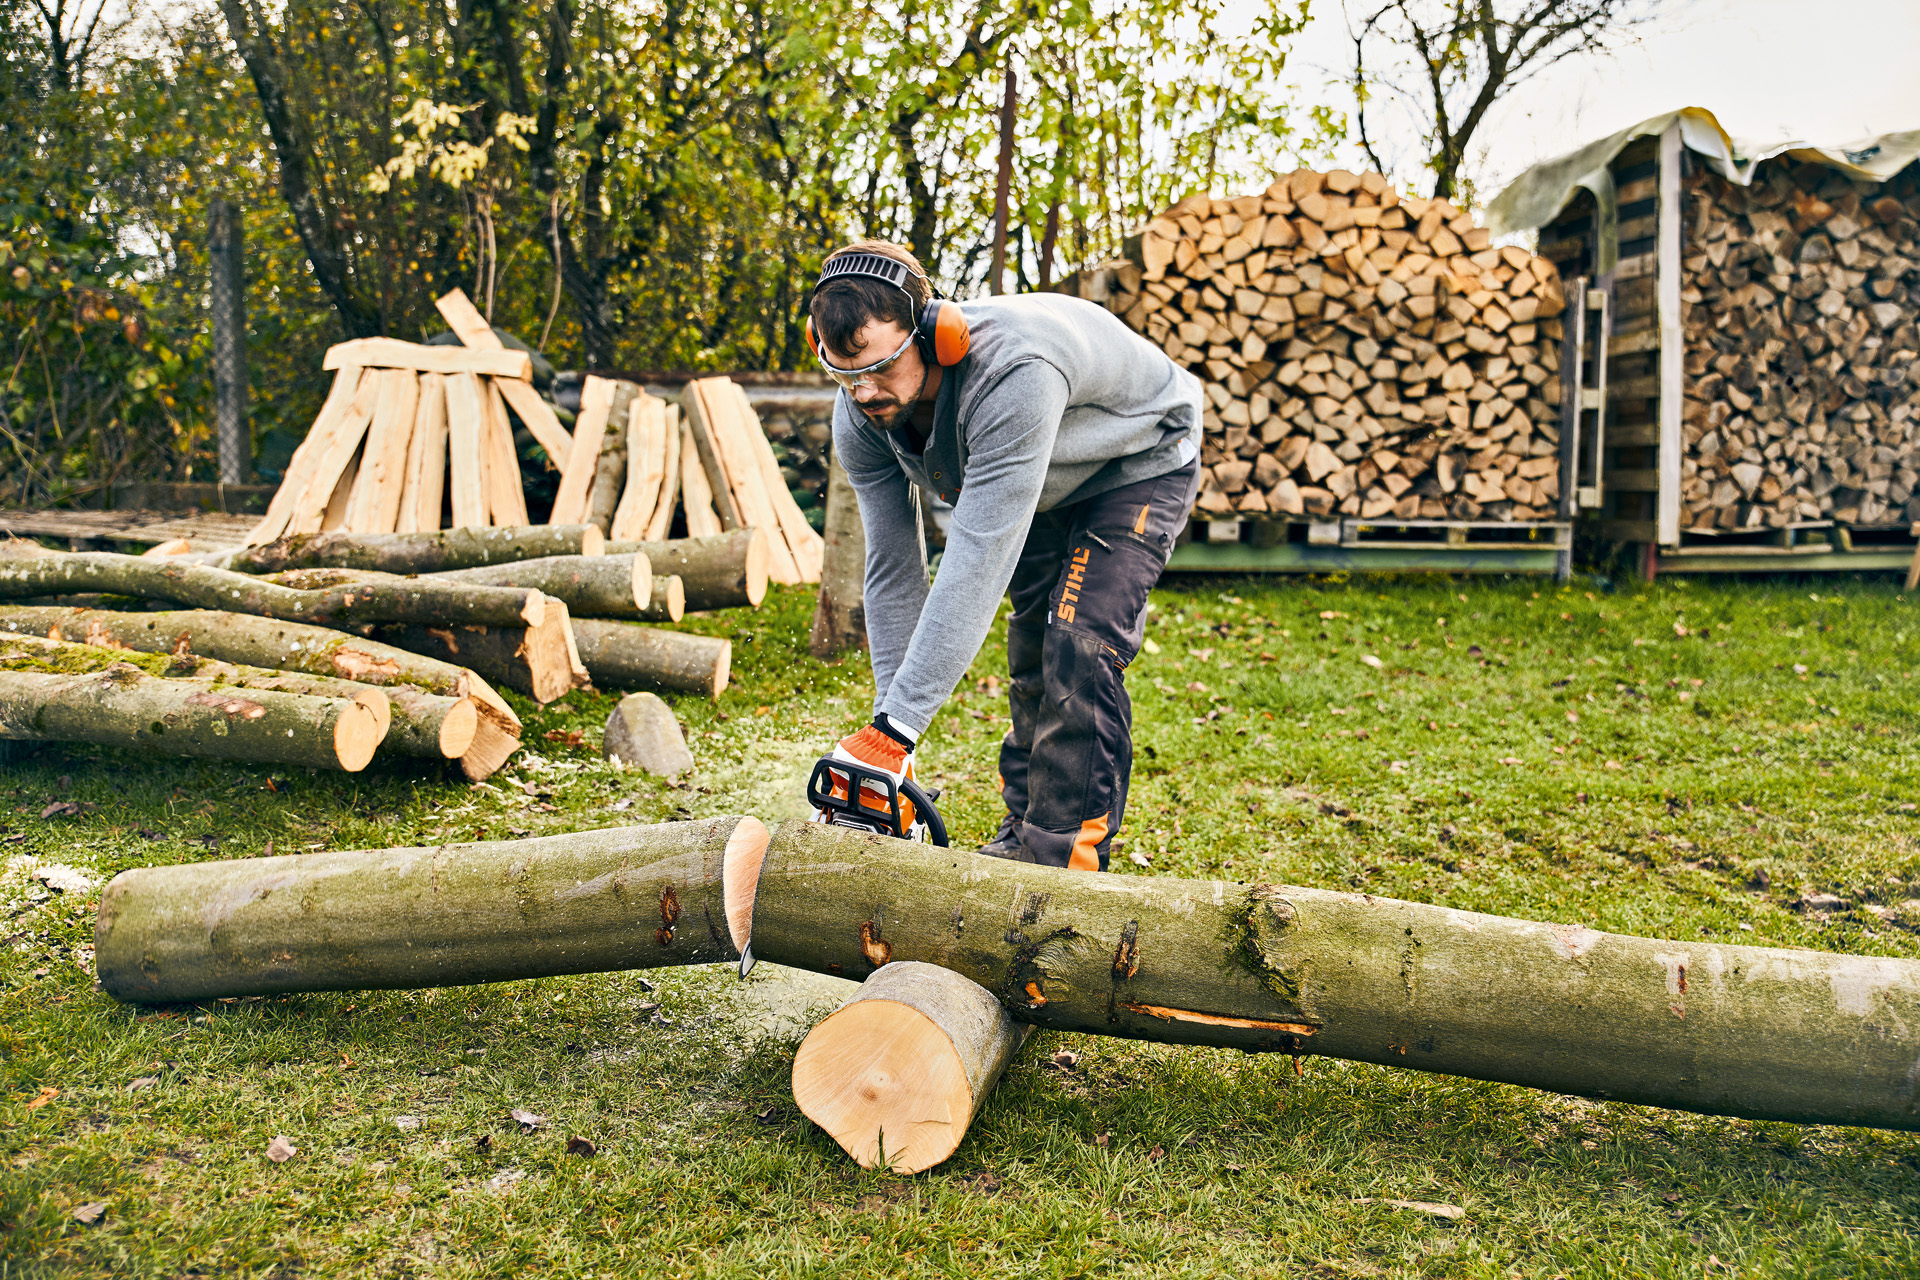
Using a chainsaw is a great way to help you get the job done, but you should make sure you always have effective protective clothing while using it. Always wear your personal protective equipment when working with your chainsaw. This includes a helmet, cut protection trousers, safety boots and more. More details are available in the operating instructions for your product.
Before using your chainsaw for the first time, fully familiarise yourself with the power tool and ensure it is in flawless condition before each use. On request, your STIHL dealer will be happy to prepare your power tool for its first job, and will also advise you on models and sizes of protective clothing that you can try on at your leisure. Please remember that personal protective equipment is no substitute for safe working techniques.
DIY stool with log seat: materials and tools
This stool makes a great DIY project because it requires just a few tools and not too much time.
Here’s what you’ll need to make it:

- Log without bark (we suggest a diameter of around 25-30 cm and length of approx. 40 cm)
- Tree stump to use as a work surface
- 2 MDF boards
- Wood varnish
- Glue
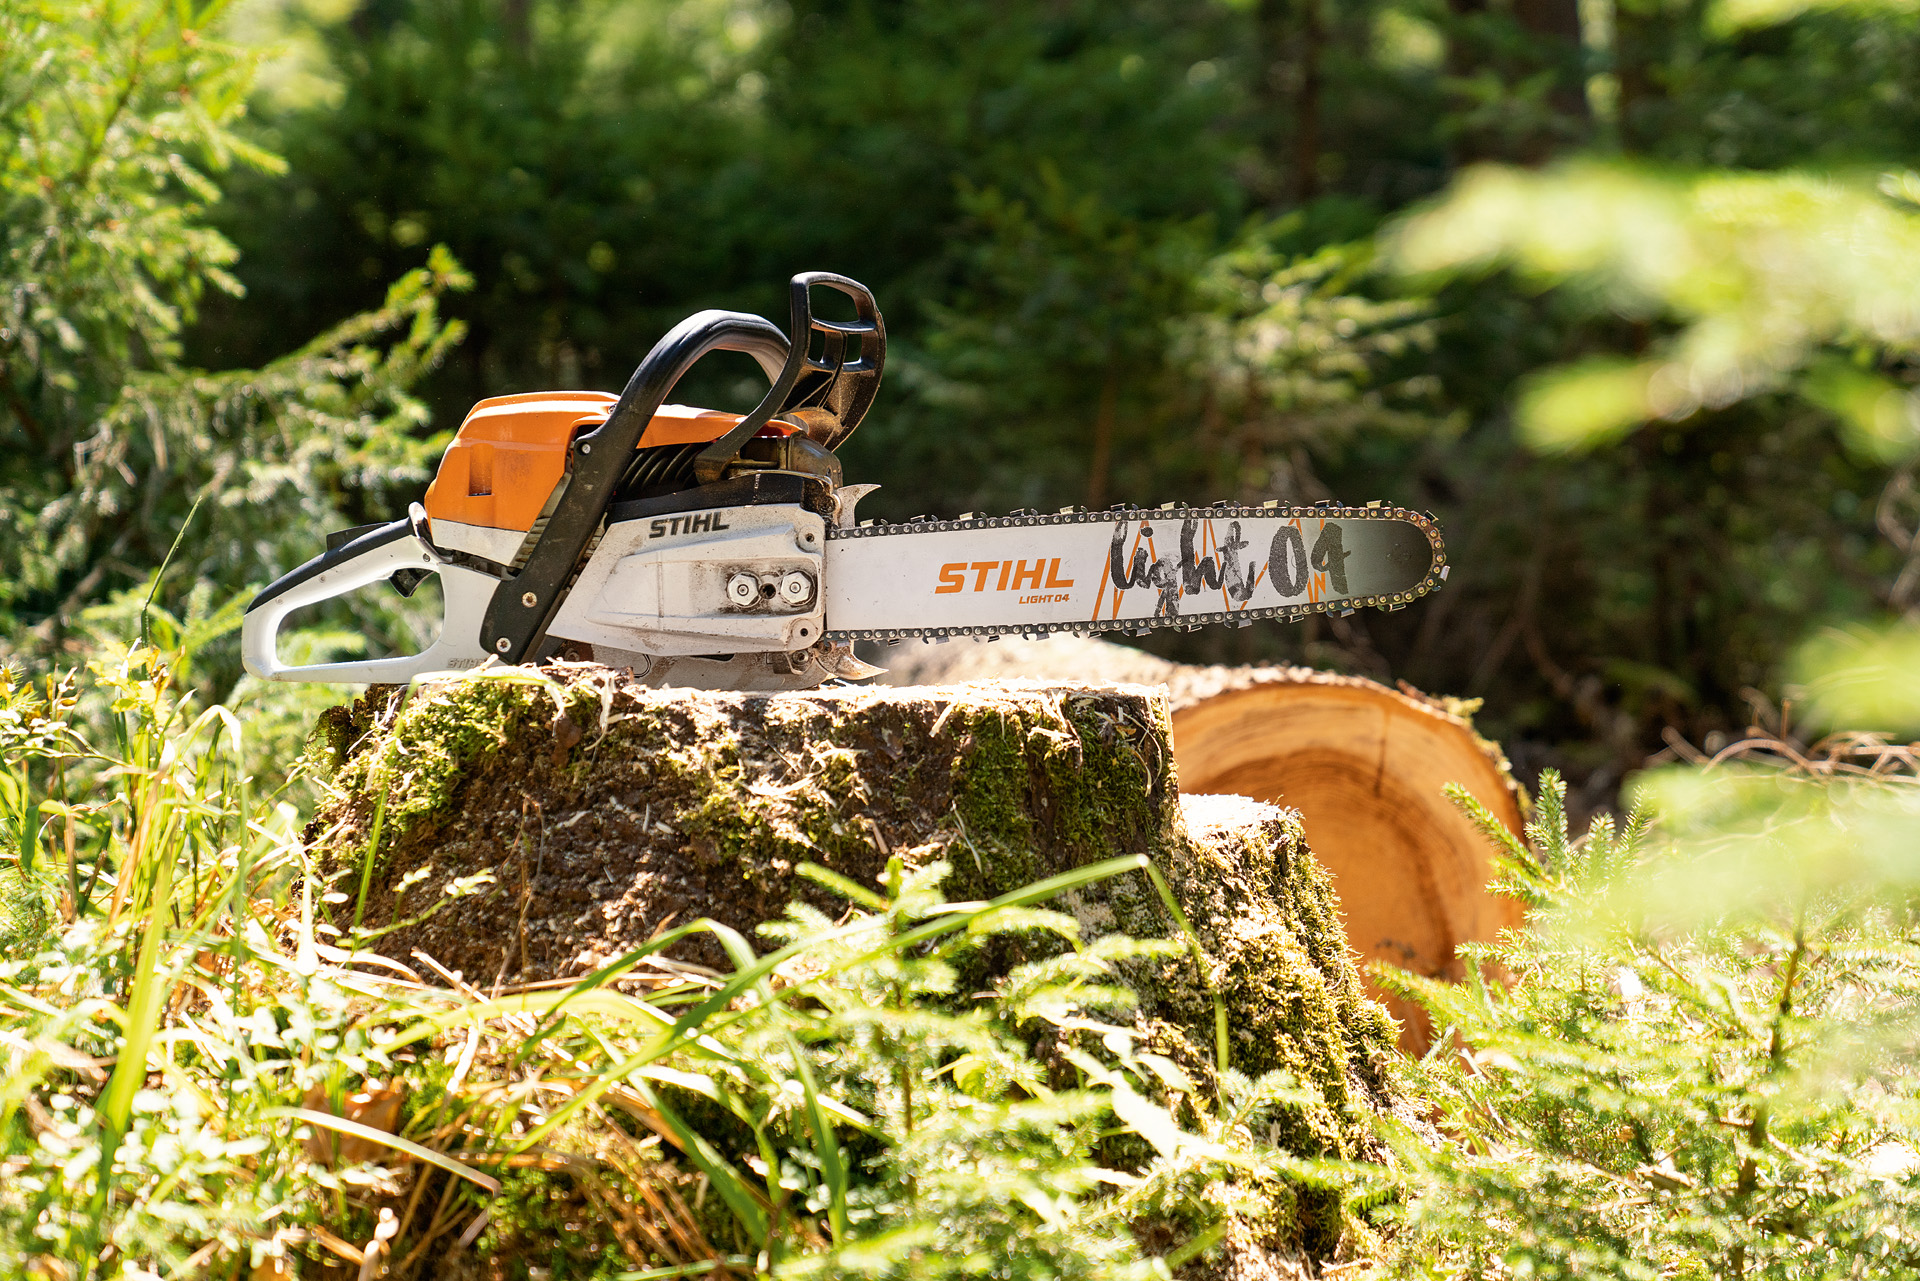
- Chainsaw (e.g. MS 231 C)
- Plane
- 120-grit and 240-grit sandpaper
- Pencil and ruler
DIY stool with log seat: instructions
Now let’s make a start on your DIY wood stool.
Mount the log onto a secure base (e.g. a notched tree stump or saw horse). This log will become the seat of your stool, so think about how you plan to use it and decide how long you want it to be. Cut the log to the required length with your chainsaw.

Use a ruler to measure the middle of the log on the flat faces and mark the line down a long side. Cut along the line with the chainsaw, to split the log in half lengthwise.

If the sawn surface is uneven use a plane to smooth it. Sand down the seat surface and edges with sandpaper until the wood feels comfortably smooth; this is an important step as a well-finished wood surface protects clothes from damage and attracts less dust.

Now you need to prepare the recesses for the stool legs to slot into. These slots need to go deep enough into the log to ensure that the MDF boards are firmly attached and cannot break off. We recommend you cut down to about a third of the log’s diameter.
First mark the slots along the curved side of the log, positioning them angled towards the centre so that the stool legs point outwards. Make sure you mark the same angle on both sides so the stool stands stable.
Secure the log on a level working surface and cut the slits carefully. Check that your MDF boards fit into the recesses.
STIHL professional tip: A piece of sandpaper under the log prevents it from slipping.

The supporting frame of the log stool is formed by a pair of MDF boards. Sand the cut edges of the boards with 120-grit sandpaper and the surfaces with 240-grit sandpaper.

Now apply glue to the long edge of the first MDF board; don’t go right to the end otherwise the excess glue will ooze out. Push the board into the recess. Repeat on the other side.

The last step is to seal the wood of the stool with a clear varnish or coloured wood stain and varnish. This protects the natural material against the effects of moisture, dust and UV rays and will last for several years.
As soon as the varnish is dry, your DIY log stool is ready for use.

Summary: make your own DIY stool with a Log seat
- Choose a wood that suits your taste and your interior design. Attractive tree log stools can be made from hardwood or softwood.
- Always wear personal protective equipment according to operating instructions.
- Very few materials are needed for this stool: just a log and two MDF boards.
- Cut the log to length and then split it lengthwise. Smooth the cut surface with a plane and sandpaper.
- Cut two slits for the stool legs.
- Sand the MDF boards and glue them into the slits.
- Seal the wood surface to protect the stool.
