DIY wooden Halloween pumpkin decoration
Celebrate spooky season with our easy DIY; this wooden pumpkin decoration brings Halloween magic to your garden and lasts longer than the real thing.
14.07.2023

DIY decorations make Halloween magical
When the air turns crisp and the leaves change colour with the arrival of autumn, it means that the spookiest night of the year is not far off. Halloween, celebrated on 31st of October each year, is thought to have its origins in an ancient Irish festival. Large numbers of 19th-century Irish emigrants to the USA took the tradition with them, and it eventually took hold across the population and has since been popularised around much of the world.
Many parts of Europe also record ancient rituals and customs that have become part of Halloween as we know it, including that of the jack o’lantern – a hollow carved pumpkin which has become a cheerful symbol that encapsulates autumn’s colours and, outside your home, often lets trick-or-treaters know they are welcome to knock on your door.
Though there are good reasons to use in-season pumpkins for your Halloween decorations, you may prefer to make something that will last a little longer, and is also a fun chainsaw project. Our beginner-friendly DIY guide tells you how to turn a tree trunk into a Halloween pumpkin for the garden or home.
DIY wooden pumpkin: list of materials
To make a Halloween pumpkin decoration you will need the following:
- Chainsaw with a carving attachment
- Section of tree trunk – preferably soft coniferous wood with a low resin content; 35-40 cm in diameter, 55-60 cm long
- Orange and white weatherproof paint
- Paintbrush
Committed to your safety: protective equipment
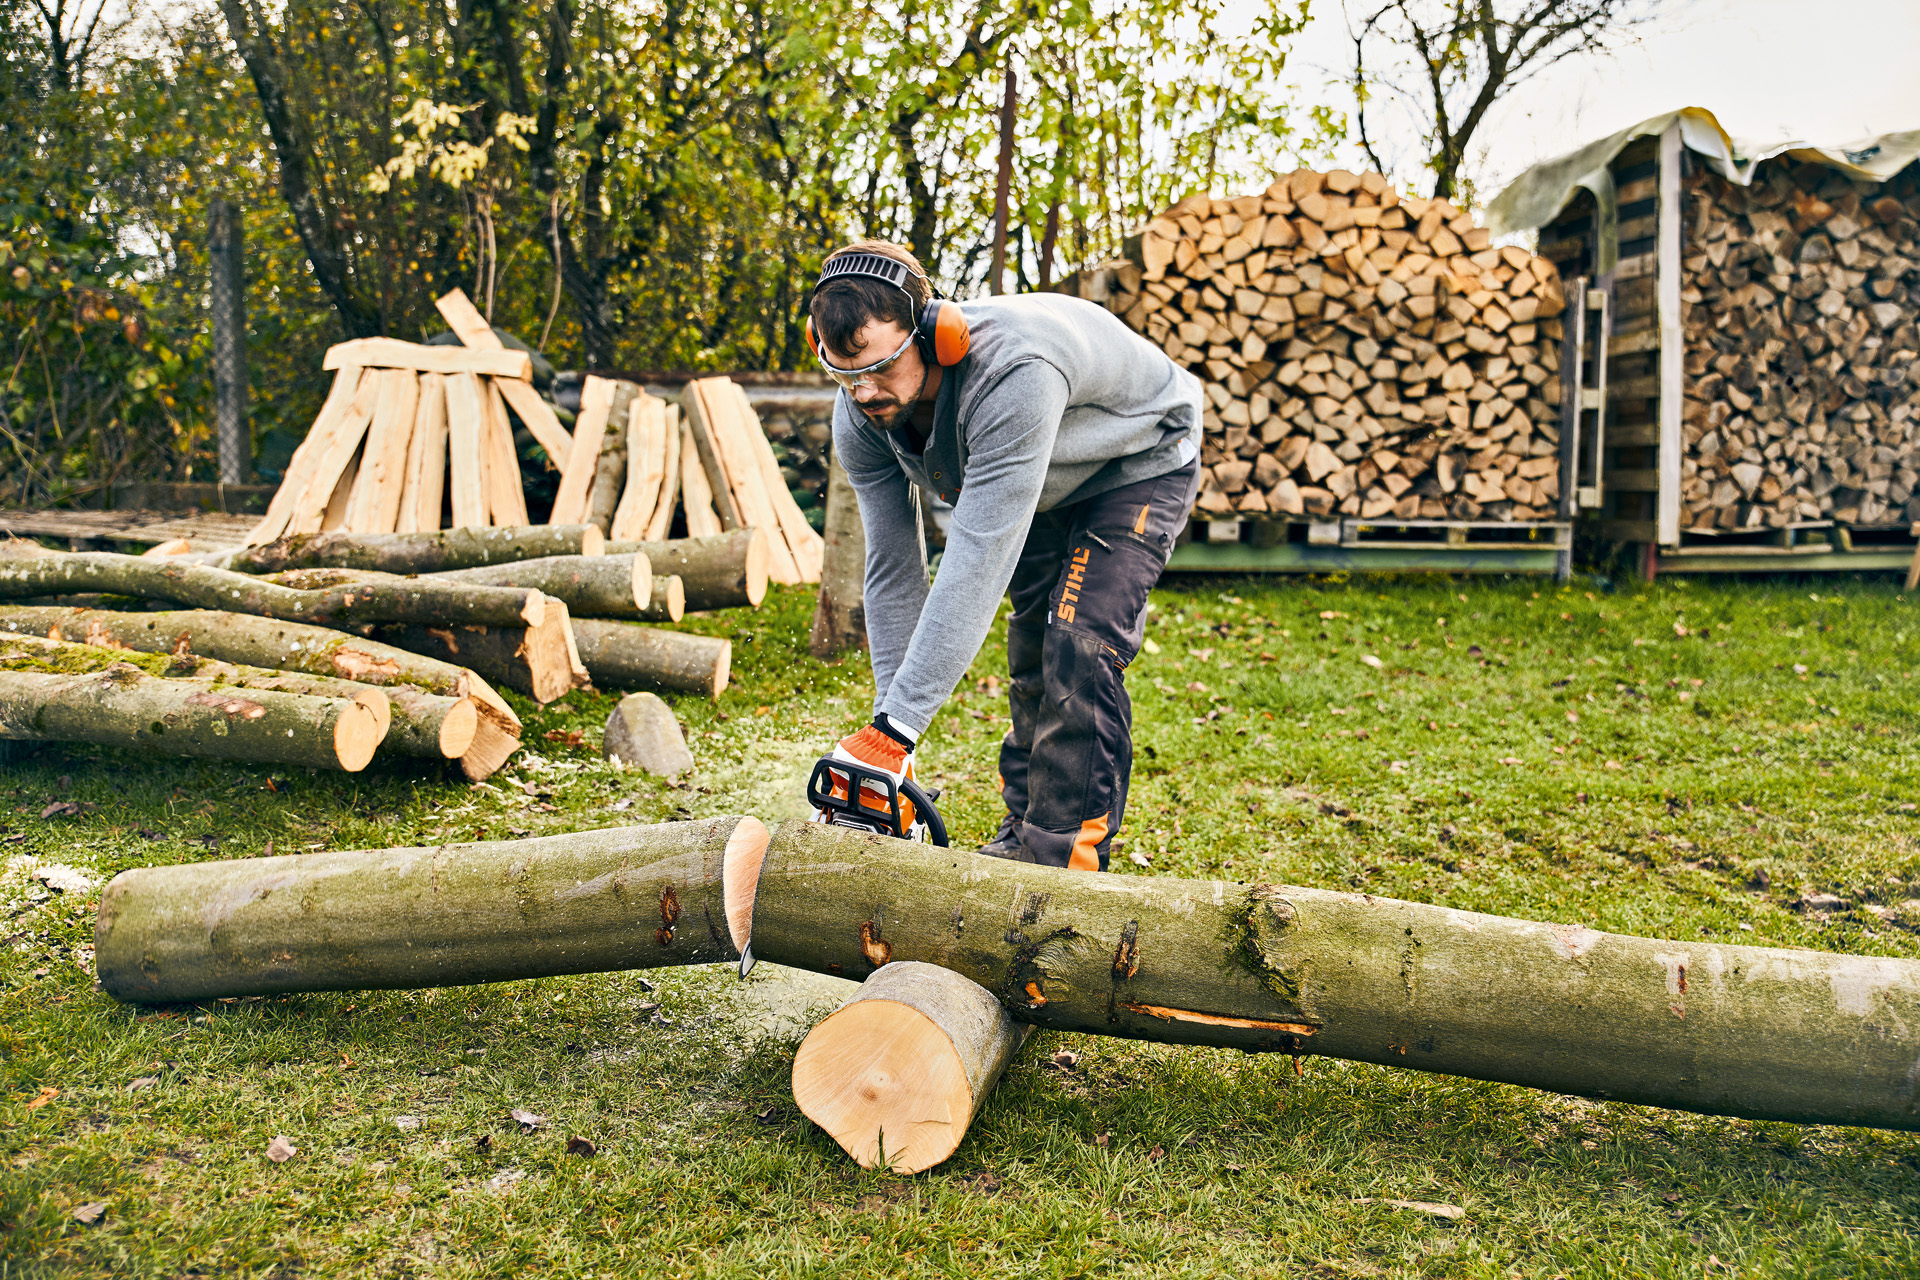
Before you start making your wooden Halloween decoration, don't forget that you should alwys wear the right personal protective equipment for working with your chainsaw. This includes cut protection trousers, safety boots, safety glasses, a face shield, gloves, a helmet if there is a risk of falling objects and ear protection (unless you are using a quieter, battery-powered chainsaw. Please read the operating instructions for your product for further details.
Before you use your chainsaw for the first time, you should familiarise yourself thoroughly with the tool and ensure it is in flawless condition before each use. On request, your STIHL dealer will be happy to prepare your tool for its first use, and will also advise you on models and sizes of protective clothing that you can try at your leisure. Please remember that personal protective equipment is no substitute for safe working techniques.
DIY wooden Halloween pumpkin decoration
This how-to guide is great for people who are new to chainsaw carving. You can also adapt the instructions to make any shape and size of Halloween pumpkin – you can even create a whole family of seasonal garden decorations if you want to.

STIHL pro tip
A carving attachment on your chainsaw will make it easier to carve out your Halloween pumpkin. Carving attachments are designed especially for cutting intricate details. They also feature markings on the guide bar which allow the user to determine the specific position of the bar nose in the wood.

Step 1: mark log
Make three small notches on the wood with your chainsaw to mark out the proportions of the pumpkin: the top notch marks the base of the stalk; the middle will be the nose of your lantern; and the lowest one indicates where the plinth that your pumpkin stands on will begin.

Step 2: carve stalk
Start by shaping the stalk of your pumpkin. Go slowly with this, working shallowly on the surface at first, sawing out a small indentation around where the stalk will be. Less is more at this point!
Work carefully through the wood and make sure that you only cut away a small piece at a time. This way you can gradually carve out what you need and make refinements later.

Step 3: roughly shape body
Start to carve out the pumpkin shape by tapering the top edge of the log below the stalk. Work from above and use the saw to round off the edges. When your edges are clean and curved, deepen the notch you made to mark the base and take it all the way round the wood.

Step 4: add contours and face
To look convincing, you need your pumpkin to have some distinctive curved ridges. Make a few of these contours using shallow cuts that radiate from the stalk outwards. Now you can start giving your pumpkin a face.
Hold the chainsaw at an angle and plunge cut three small triangles out of the wood to create two eyes and a nose. If the pieces do not fall out now, they will when you hollow out the Halloween decoration. Be careful when plunge cutting as this method of working has an increased risk of kickback. Please check the instruction manual for your chainsaw and only make plunge cuts if you are an experienced chainsaw user.
Draw teeth and a mouth on your log before you start to cut them out – but remember that it doesn’t need to be perfect to look spooky!

Step 5: refine shape
Carefully remove the outer layer of wood and work on the curves until your log is pumpkin-shaped. Positioning the guide bar flat against the wood is a good way to gently file away the dark outer surface.

Step 6: hollow out
The first step to hollowing out your pumpkin is cleanly sawing off the top. Then, carefully plunge cut a circle into the top of the cut log. The wood within this circle should be cut across into segments so it’s easier to remove. Finally, make a plunge cut from the back of the pumpkin at the bottom, to release the segments.

Step 7: paint
For the final touch, clean your decoration and paint it with weatherproof paint. Now you can be sure that your Halloween pumpkin will stay looking great in all weathers.

Using your DIY Halloween decoration outside
Your wooden pumpkin ornament is a great way to bring a spooky, autumnal atmosphere to your garden or doorstep. As long as you use outdoor paint, the decorative pumpkin will be weatherproof and long-lasting.
You don’t need to wait until Halloween to get to work on DIY garden decorations – we have put together some carving ideas that you can work on all year round. Why not let our creative projects inspire you?
Summary: DIY wooden Halloween pumpkin
- Jack o’lantern decorations are popular everywhere that Halloween is celebrated.
- To make a wooden pumpkin, you will need a suitable log and a chainsaw with a carving attachment.
- First, carve out the stalk and the rough form of the pumpkin.
- Next, focus on the details: cut out the face and the distinctive ridges of the pumpkin. Then, hollow out the inside.
- Finally, paint your pumpkin with weatherproof paint.
